So you’ve been hearing about DTF printing and wondering what the full process actually looks like from start to finish? You’re in the right place.
In this blog, we walk through the complete workflow of the Roland BY-20 DTF printer step by step, so you can see exactly how it all comes together. You can also follow along with our full video demo here.
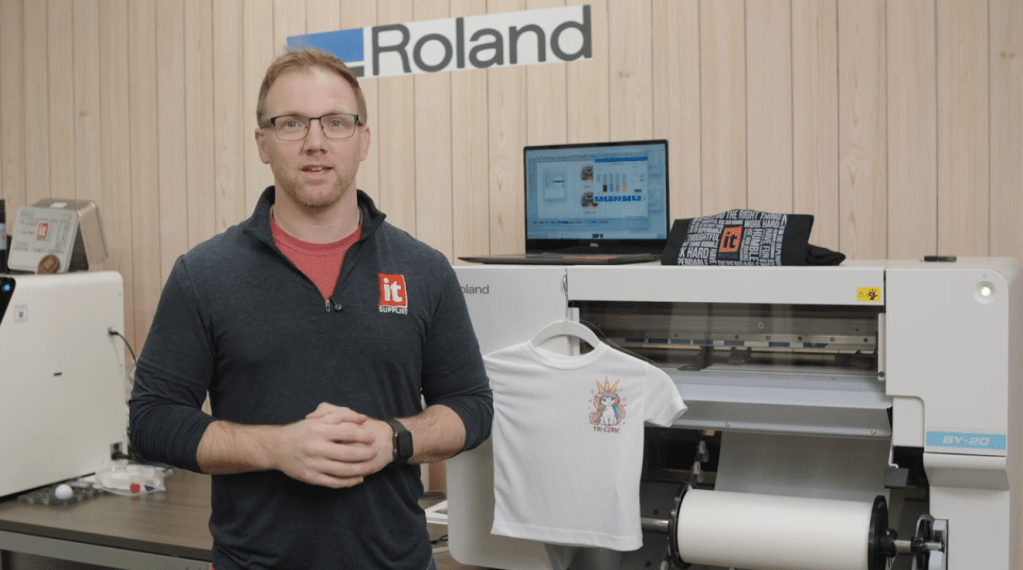
Meet the Roland BY-20
The Roland BY-20 DTF printer is designed with beginners in mind. Roland has a solid reputation for reliability and user-friendly machines, and this one stays true to that.
What really helps here is the included software:
- FlexiDesigner for creating and setting up your artwork
- VersaWorks for dialing in your print settings and color profiles
Between those two, you’re not guessing your way through the process. The software guides you so you can focus on getting a clean, vibrant print.
Step 1: Printing Your Design
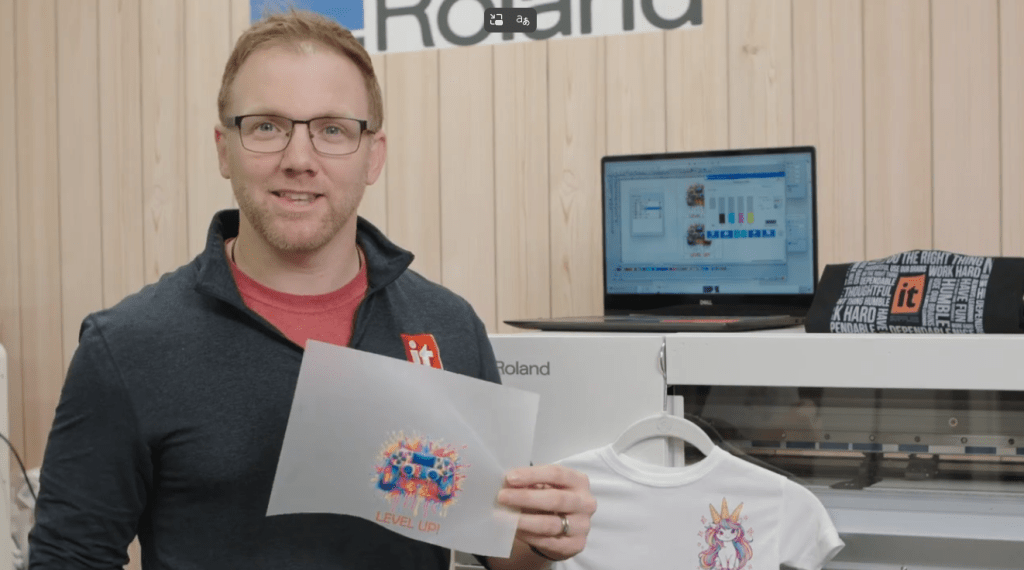
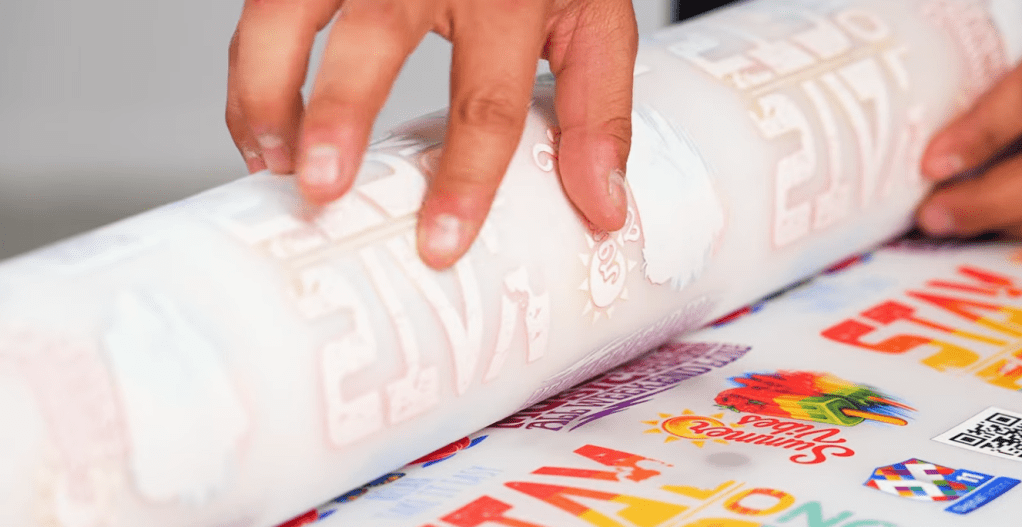
First things first, you print your design onto DTF film. Simple enough, right?
For this demo, we went with a fun design inspired by video games. Honestly, that’s one of the best parts about having a setup like this. You can create custom pieces for your kids, your brand, or just for fun.
Once your design is printed, timing matters. The ink needs to stay wet for the next step, so don’t wander off just yet.
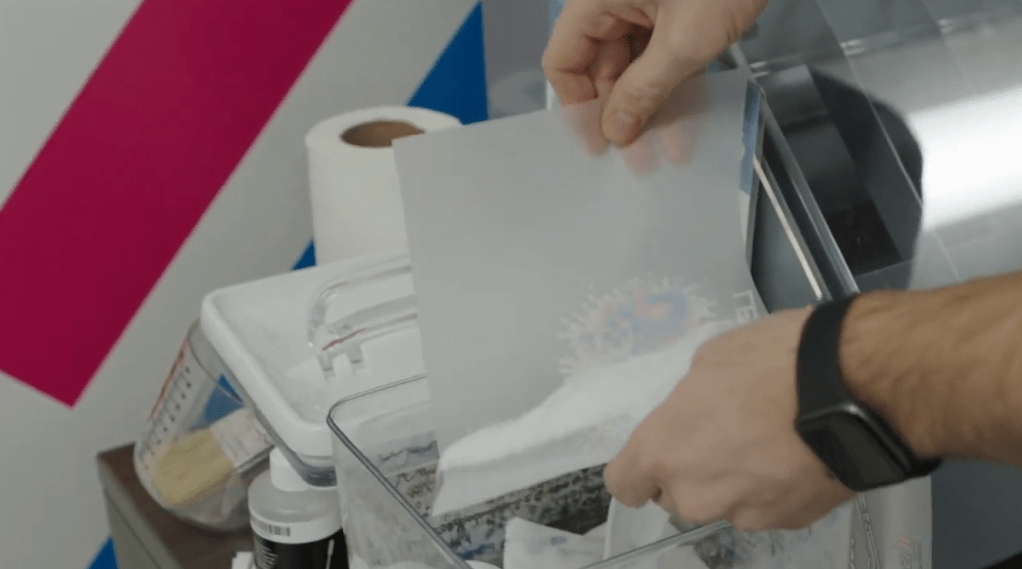
Step 2: Applying the Adhesive Powder
While the ink is still wet, it’s time to apply the adhesive powder. This step is what allows your design to stick to fabric later on.
There are a few ways to do this:
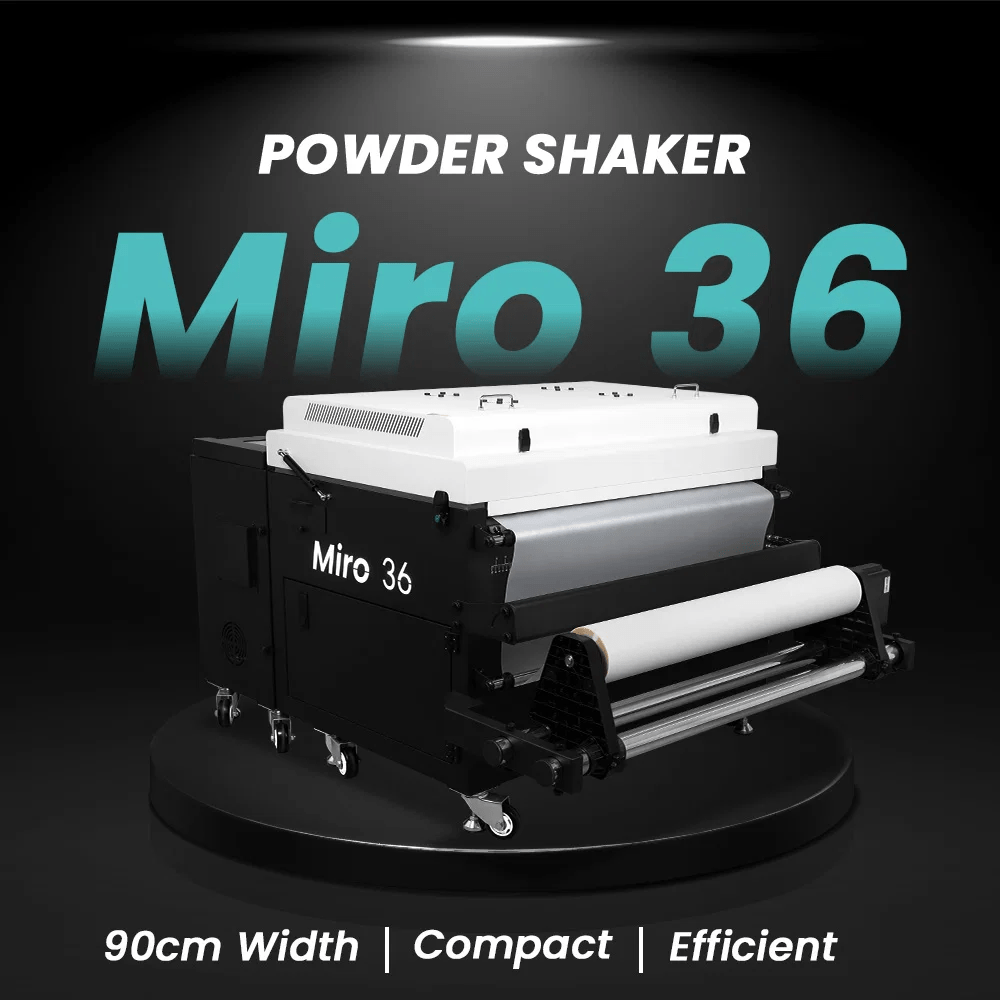
Automated Option
We used the Miro 36 Powder Shaker and Dryer, which handles powdering and curing in one smooth process. If you’re working with a 20-inch printer like the BY-20, a Miro 24 makes more sense. No need to overspend right out of the gate.
Manual Option
If you’re just starting out or running smaller batches, manual application works perfectly fine.
Here’s how it goes:
- Sprinkle the adhesive powder evenly over the print
- Shake off the excess
- Make sure full coverage is achieved
It’s quick, easy, and gets the job done without extra equipment.
Step 3: Curing the Powder
Now comes the part where everything starts to come together. The adhesive powder needs heat to activate.
Place your powdered print into an oven and cure it at:
- 300 degrees Fahrenheit
- About 90 seconds
As the powder heats up, it melts and bonds with the ink. That’s what creates the transfer layer.
How do you know it’s ready?
Take a look at the texture. You’re aiming for that slightly bumpy, orange peel look. That’s your sign that it’s fully cured and ready to go.
At this point, you can either store the transfer for later or move straight to pressing.
Step 4: Heat Pressing the Transfer
This is where your design finally meets the garment.
We used the Hotronix Fusion IQ heat press, which comes with some nice features like a touchscreen and dual timers. That said, any solid heat press can get the job done.
Recommended settings from our testing:
- 280 degrees Fahrenheit
- 15 seconds press time
Keep in mind, DTF isn’t always one-size-fits-all. The film, ink, and fabric all play a role, so expect a bit of trial and error at the beginning.
Once you find the right combination though, it clicks.
Final Result
After pressing, you’re left with a clean, vibrant transfer that feels great on the fabric. The colors pop, the detail holds up, and the finish is smooth.
This is where all the steps pay off. From printing to powdering to pressing, everything works together to create a professional result.
Speed and Production Expectations
Let’s keep it real for a second.
The Roland BY-20 DTF printer is not built for high-volume production. It runs at about:
- 3 to 12 square feet per hour
That makes it ideal for:
- Beginners
- Small businesses
- Custom or on-demand printing
If you’re looking to scale up, Roland’s TY-300 steps in with much higher output. But for getting started, the BY-20 hits a nice balance between performance and ease of use.
Building Your Setup
DTF printing is not just about the printer. You’ve got a full workflow here, which means multiple pieces of equipment.
Typical setup includes:
- DTF printer
- Adhesive powder
- Oven or shaker system
- Heat press
The good news is you can mix and match based on your needs and budget. We recommend exploring bundle options to build a setup that works for you without overspending.
If you’re not sure where to start, check out https://www.itsupplies.com to explore bundle options and customize your setup.
Final Thoughts
The Roland BY-20 DTF printer workflow is straightforward once you get the hang of it. Print, powder, cure, and press. That’s the rhythm.
It may take a few test runs to dial everything in, but once you do, the process becomes second nature. Whether you’re making custom shirts for fun or starting a small business, this setup gives you a solid entry point into DTF printing.
If you’ve got questions or want help building your setup, reach out to us at hello@itsupplies.com or give us a call at 1-800-771-9665. There’s a lot you can do with this machine once you get rolling!
IT Supplies is your one-stop shop for everything you need to achieve the perfect print. We partner with top manufacturers to bring you the best in printing technology, including Eco-Solvent, Latex, UV, and Aqueous printers from EPSON, HP, and Canon. Our lineup also features a wide selection of Dye-Sublimation, DTF, and DTG printers from EPSON and HP. Explore our full range at www.itsupplies.com or by giving us a call at 1-800-771-9665!
